Table of Contents
Deep learning workstation 2020 buyer's guide. BIZON G3000 deep learning devbox review, benchmark. 5X times faster vs Amazon AWS

Buying a deep learning desktop after a decade of MacBook Airs and cloud servers. Why I have switched from Cloud to my own deep learning box. Personal experience.
After years of using a MacBook, I eventually opted for an Amazon P2 cloud when I became interested in Deep Learning (DL). With no upfront cost, the ability to train several models simultaneously, and the fact that a machine that teaches itself was pretty impressive, I felt it was a good choice.
As time passed I noticed that my Amazon bills started to rise and I wasn’t training more than one model at a time. Eventually, as model complexity increased it took longer to train because I forgot what I did differently on the model that had just completed its 2-day training.
Guided by the experience on the Fast.AI Forum, I decided to install a dedicated deep learning workstation at home. This would save time when prototyping models with faster training whilst decreasing feedback time and making results analysis easier.
Saving money was also a priority as the Amazon Web Services (AWS) I was using (offering P2 instances with Nvidia K80 GPUs) cost over $300 per month and it was costly to store large datasets, like ImageNet.
However, there are some essential things to consider, so I have provided some handy hints for those of you that want to build your own box.
The components you choose will determine the cost of your workstation. However, my budget was $4000, which equates to 2 years of spending on AWS. Therefore, the cost-effectiveness of building your own box is a no brainer.
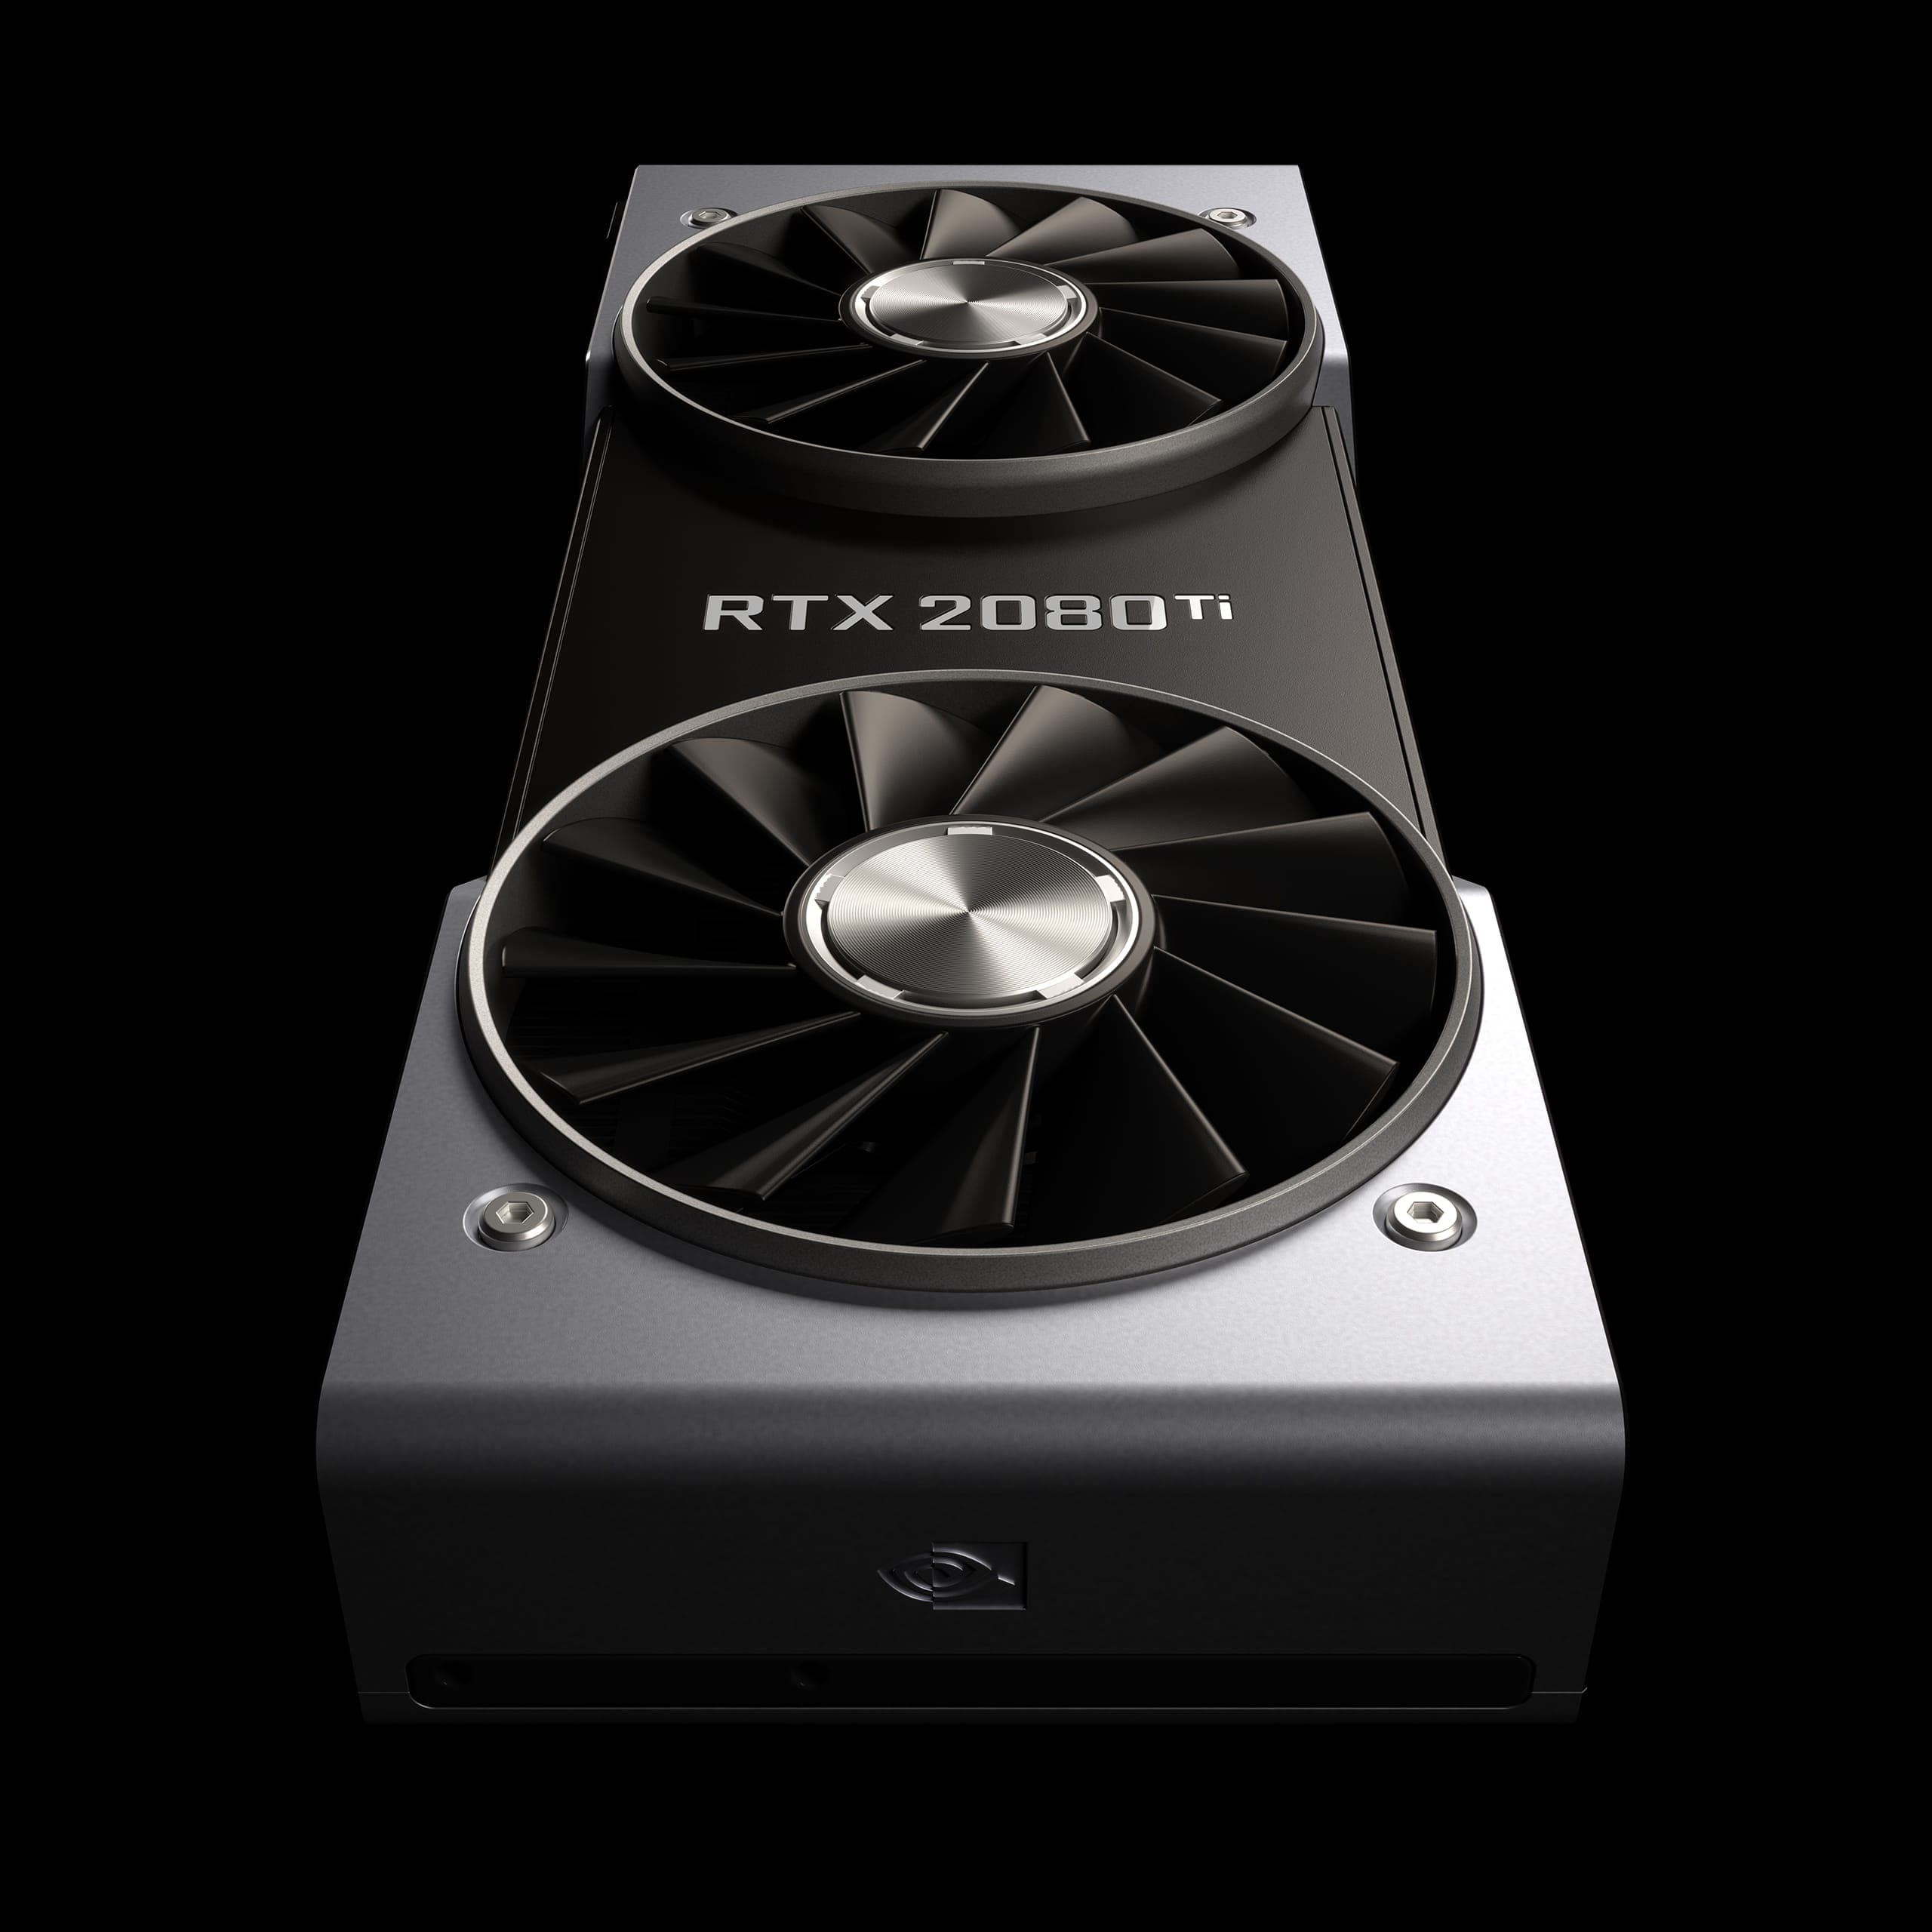 Speed is important as neural networks complete thousands of operations. GPUs are efficient as they have a high memory bandwidth and can run operations in parallel when using a bunch of data. They also have a large number of cores that can run large number of threads.
The GPU is a crucial component because it dictates the speed of the feedback cycle and how quickly deep networks learn. It is also important as most calculations are matrix operations (e.g. matrix multiplication) and these can be slowed when completed on the CPU.
You can select a GPU from Nvidia’s selection of cards, including, the RTX 2070, RTX 2080, RTX 2080 Ti, RTX Titan or even RTX Quadro cards.
If you do have a need for speed the RTX 2080 Ti is around 30% faster than RTX 2080 and the RTX 2080 is around 25% faster than RTX 2070.
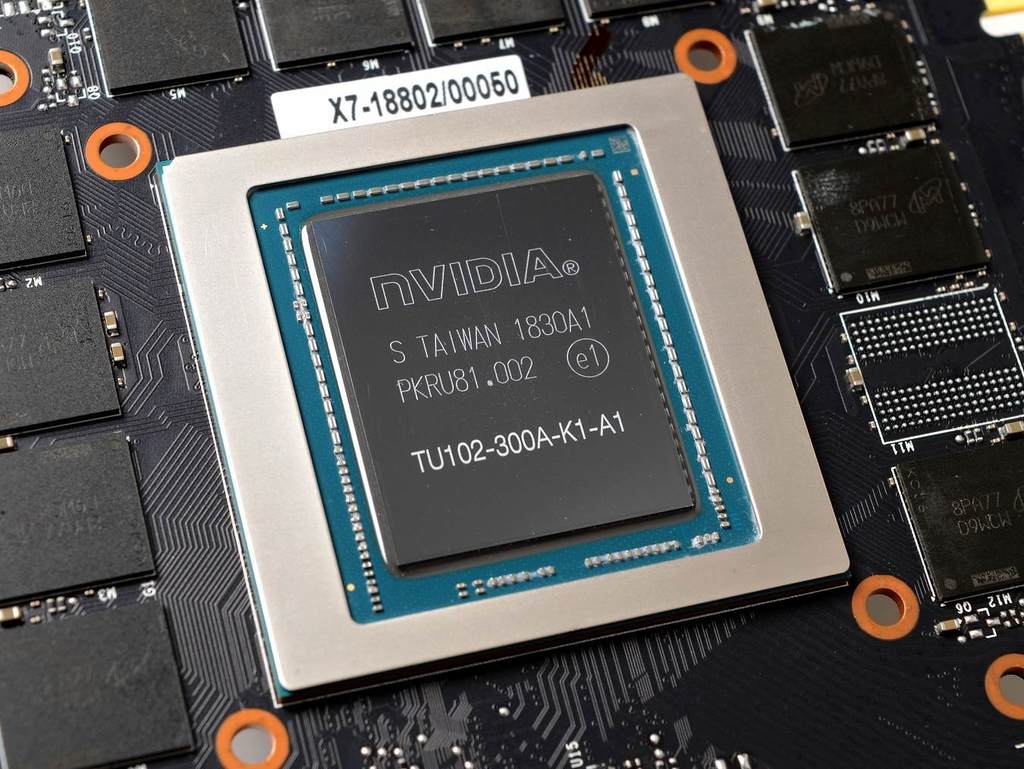 Things to consider when picking a GPU include:
Make: I recommend that you buy from Nvidia. They have heavily focused on machine learning over the past few years and their CUDA toolkit is the best choice for deep learning practitioners. In comparison AMD products might be cheaper but aren’t as efficient.
Budget: It’s worth considering the best buy for your budget. Previously, you could use the same speed half-precision (FP16) on the old, Maxwell-based Titan X, effectively doubling GPU memory, but sadly this can’t be done on the new one.
Single or several? I would recommend using a few 2080 Tis. This would allow me to train a model on two cards or train two models at the same time.
Training a model on multiple cards can be a hassle, although things are changing with PyTorch and Caffe 2 offering almost linear scaling with the number of GPUs. That said, training two models at once seemed to offer more value. However, I decided to purchase a 2 x 2080 Ti BIZON G2000 with a view to buy two more GPUs at a later date.
Memory: With more memory you can deploy bigger models and use a sufficiently large batch size during training, which helps the gradient flow.
Memory bandwidth: This enables the GPU to operate on large amounts of memory and can be considered as one of the most important characteristics of a GPU.
With all this in mind, I chose the RTX 2080 Ti for my deep learning box to give the training speed a boost and I plan to add two more 2080 Ti.
Tim Dettmers’ article ‘Picking a GPU for Deep Learning’, also provides useful information to help you build your box.
 Even though the graphic’s processing unit (GPU) is the minimal viable product in deep learning, the central processing unit (CPU) is still important.
Data preparation is usually completed on the CPU and the number of cores and threads need to be considered if you want to different data sets to run at the same time.
I selected the latest Intel Core i9-9820X as it’s mid-range, relatively cheap, works effectively enough in terms of speed, and provided the best option within my budget.
Pay attention to PCle Lanes
With DL/multi-GPU you should “pay attention to the PCIe lanes supported by the CPU/motherboard”, according to Andrej Karpathy.
You want each GPU to have 16 PCIe lanes to process data as fast as possible (16 GB/s for PCIe 3.0). This means that for two cards 32 PCIe lanes are required.
If you chose a CPU with 16 lanes, 2 GPUs would run in 2x8 mode instead of 2x16. However, this could cause a bottleneck and the graphics cards won’t be utilized to their full capacity, so a CPU with 40 lines is recommended.
My Core i9 9820X comes with 44 PCIe lanes (specs here).
Tim Dettmers points out that 8 lanes per card should only decrease performance by “0–10%” for two GPUs. Therefore, you could use 8 lanes but I would recommend 16 PCle lanes per video card.
For a double GPU machine, an Intel Core i9 9820X (44 PCIe lanes) is ideal. Alternatively, if you have a bigger budget I would suggest that you opt for a high-end processor, such as the Core i9-9940X.
 If you’re working with big datasets it’s better to get as much memory (RAM) as you can. I went for 2 sticks of 16 GB and plan to purchase another 32 GB in the future.
I decided to choose a fast solid-state drive (SSD) disk for my operating system and data storage. I also bought a slow spinning hard disk drive (HDD) for huge datasets.
SSD: I remember being impressed by the SSD speed when I bought my first Macbook Air. However, a new generation of SSD called NVMe has made its way to market.
The 500 GB SSD PCIe drive offers a great deal and is equally impressive, copying files by gigabytes per second.
HDD: While SSDs have been improving in speed, HDDs have become more affordable. I would recommend a 2 TB, which offers far more space than a Macbook and is a vast improvement.
 When choosing a motherboard I considered its ability to support four RTX 2080 Ti, in terms of the number of PCI express lanes (the minimum is 2x8) and the physical size of 4 cards. You also need to ensure it’s compatible with your CPU. BIZON G2000 uses the best on the market workstation motherboard designed for multi-GPU systems.
  Your power supply should provide enough juice for the CPU and the GPUs, plus an extra 100 watts. 1600W EVGA Power supply is the best recommended power supply well known for it’s quality and 10 years warranty.
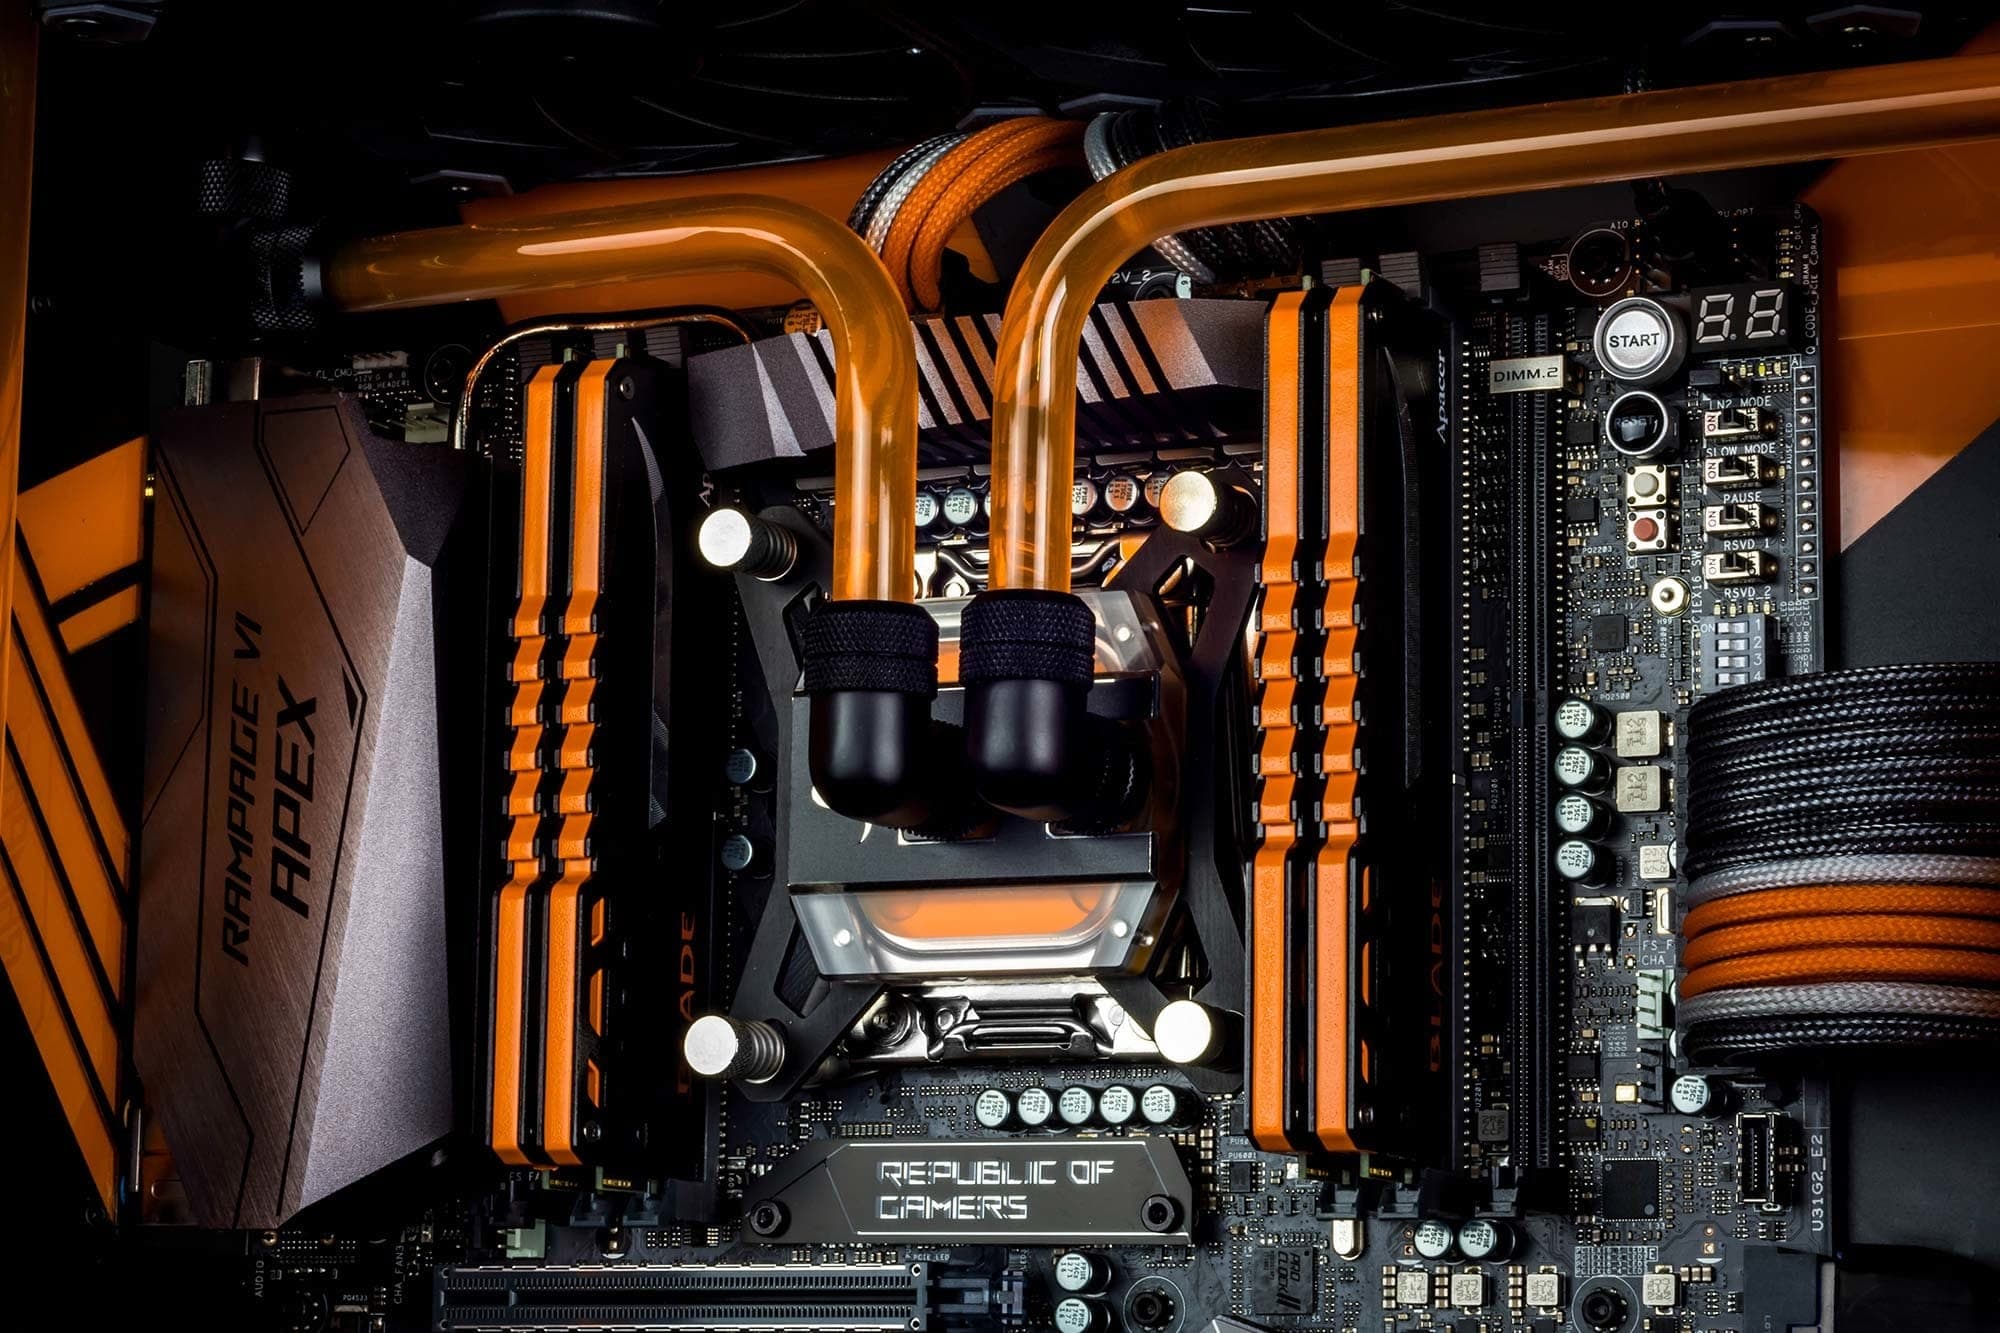
Thanks to the water cooling system the noise level is up to 20% lower than regular workstation.
BIZON G2000
- Processor (Latest Generation Skylake X)
10-Core 3.30 GHz Intel Core i9-9820X - Graphics Card
2 x NVIDIA RTX 2080 Ti - Memory (DDR4 3200 MHz)
32 GB - HDD #1 (OS Install)
500 GB PCI-E SSD (Up to 3500 Mb/s) - HDD #2
2 TB HDD - Network
1 Gigabit Ethernet - Operating System
Ubuntu 18.04 (Bionic) with preinstalled deep learning frameworks - Warranty/Support
Life-time Expert Care with 3 Year Limited Warranty (3 Year Labor & 1 Year Part Replacement)
More details
If you don’t have much experience with hardware, buying a prebuilt workstation is the best option.
With the hardware in place, the software requires to set up.
When buying a prebuilt deep learning workstation from BIZON setup takes you from power-on to deep learning in minutes. BIZON comes preconfigured to use NVIDIA optimized deep learning frameworks (TensorFlow, Keras, PyTorch, Caffe, Caffe 2, Theano, CUDA, and cuDNN). You don't need to install anything and save weeks. But you can still install the frameworks by yourself following the steps below.
In terms of dual booting, if you plan to install Windows it’s best to install Window first then Linux after. As I didn’t, I had to reinstall Ubuntu because Windows messed up the boot partition. However, Livewire has a detailed article on dual boot.
Install Ubuntu

Most DL frameworks are designed to work on Linux first, and eventually support other operating systems. I chose Ubuntu, which is my default Linux distribution and an old 2GB USB drive worked great for the installation.
UNetbootin (OSX) or Rufus (Windows) can prepare the Linux thumb drive and the default options worked well during the Ubuntu install. At the time Ubuntu 18.04 was only just released so I used 16.04.
What’s best Ubuntu Server or Desktop?
The server and desktop editions of Ubuntu are almost identical, with the notable exception of the visual interface (called X) not being installed with Server. I installed the desktop version and disabled autostarting X so the computer could boot it in terminal mode. However, if needed, you could launch the visual desktop later by typing startx.
Get up to date
To get your install up to date you can use Jeremy Howard’s excellent GPU install script:
sudo apt-get update
sudo apt-get --assume-yes upgrade
sudo apt-get --assume-yes install tmux build-essential gcc g++ make binutils
sudo apt-get --assume-yes install software-properties-common
sudo apt-get --assume-yes install git
Stack it up
A stack of technologies on the GPU is needed for deep learning, including:
GPU driver : Enables the operating system to talk to the graphics card.
CUDA: Allows general-purpose code to run on the GPU.
CuDNN : Provides deep neural networks routines on top of CUDA.
A DL framework such as Tensorflow, PyTorch, or Theano: making it easier by abstracting the lower levels of the stack.
Install CUDA
You can download CUDA from Nvidia or run the code below for up to version 9:
wget -O cuda.deb http://developer.download.nvidia.com/compute/cuda/repos/ubuntu1604/x86_64/cuda-repo-ubuntu1604_9.0.176-1_amd64.deb
sudo dpkg -i cuda.deb
sudo apt-get update
sudo apt-get install cuda-toolkit-9.0 cuda-command-line-tools-9-0
To add later versions of CUDA, click here.
After CUDA has been installed the following code will add the CUDA installation to the PATH variable:
cat >> ~/.bashrc << 'EOF'
export PATH=/usr/local/cuda-9.0/bin${PATH:+:${PATH}}
export LD_LIBRARY_PATH=/usr/local/cuda-9.0/lib64\
${LD_LIBRARY_PATH:+:${LD_LIBRARY_PATH}}
EOF
source ~/.bashrc
Now you can verify that CUDA has been installed successfully by running:
nvcc --version # Checks CUDA version
nvidia-smi # Info about the detected GPUs
This should have installed the display driver as well. For me, nvidia-smi showed ERR as the device name, so I installed the latest Nvidia drivers (as of October 2018) to fix it:
wget http://us.download.nvidia.com/XFree86/Linux-x86_64/410.73/NVIDIA-Linux-x86_64-410.73.run
sudo sh NVIDIA-Linux-x86_64-410.73.run
sudo reboot
Removing CUDA/Nvidia drivers
If at any point the drivers or CUDA appear to be broken, it might be better to start over by running:
sudo apt-get remove --purge nvidia*
sudo apt-get autoremove
sudo reboot
CuDNN

Version 1.5 Tensorflow supports CuDNN 7, so we installed that. To download CuDNN, register for a free developer account and after downloading use the following code to install it:
tar -xzf cudnn-9.0-linux-x64-v7.2.tgz
cd cuda
sudo cp lib64/* /usr/local/cuda/lib64/
sudo cp include/* /usr/local/cuda/include/
Anaconda

Anaconda is a great package manager for Python, as I’ve moved to python 3.6 I use Anaconda 3:
wget https://repo.continuum.io/archive/Anaconda3-4.3.1-Linux-x86_64.sh -O “anaconda-install.sh”
bash anaconda-install.sh -b
cat >> ~/.bashrc << 'EOF'
export PATH=$HOME/anaconda3/bin:${PATH}
EOF
source .bashrc
conda upgrade -y --all
source activate root
Tensorflow

Tensorflow is the most popular DL framework by Google and can be installed using:
sudo apt install python3-pip
pip install tensorflow-gpu
Validate Tensorfow install:
To make sure your stack is running smoothly run TensorFlow MNIST:
git clone https://github.com/tensorflow/tensorflow.git
python tensorflow/tensorflow/examples/tutorials/mnist/fully_connected_feed.py
The loss should decrease during training:
Step 0: loss = 2.32 (0.139 sec)
Step 100: loss = 2.19 (0.001 sec)
Step 200: loss = 1.87 (0.001 sec)
Keras

Keras is a great high-level neural networks framework and a pleasure to work with. It is also easy to install:
pip install keras
PyTorch

PyTorch is a newcomer in the world of DL frameworks, but its API is modeled on Torch, which was written in Lua. PyTorch feels new and exciting, although some things are yet to be implemented. It can be installed using:
conda install pytorch torchvision -c pytorch
Jupyter notebook

Jupyter is a web-based IDE for Python, which is ideal for data science tasks. It’s installed with Anaconda, so can be configured and tested:
# Create a ~/.jupyter/jupyter_notebook_config.py with settings
jupyter notebook --generate-config
jupyter notebook --port=8888 --NotebookApp.token='' # Start it
Now if you open http://localhost:8888 you should see a Jupyter screen.
Run Jupyter on boot
Rather than running the notebook every time the computer restarts, you can set it to autostart on boot. Crontab can be used to do this, which you can edit by running crontab -e .
Next, add the following after the last line in the crontab file:
# Replace 'path-to-jupyter' with the actual path to the jupyter
# installation (run 'which jupyter' if you don't know it). Also
# 'path-to-dir' should be the dir where your deep learning notebooks
# would reside (I use ~/DL/).
@reboot path-to-jupyter notebook --no-browser --port=8888 --NotebookApp.token='' --notebook-dir path-to-dir &
Outside access
I use my old trusty Macbook Air for development so I wanted to be able to log into the DL box from home as well as on the go.
SSH Key: It’s more secure to use a SSH key to login instead of a password. Digital Ocean has a great guide on how to do this.
SSH tunnel: If you want to access your Jupyter notebook from another computer use SSH tunneling instead of opening the notebook to the world and protecting it with a password.
You can do this by selecting an SSH server and installing it by running the following on the DL box (server):
sudo apt-get install openssh-server
sudo service ssh status
Next, connect over the SSH tunnel and run the following script on the client:
# Replace user@host with your server user and ip.
ssh -N -f -L localhost:8888:localhost:8888 user@host
To test this you should open a browser and try http://localhost:8888 from the remote machine and your Jupyter notebook should appear.
Setup out-of-network access: To access the DL box from the outside world, 3 things are required:
1. Static IP for your home network (or service to emulate that) – to know what address to connect to.
2. A manual IP or a DHCP reservation to provide the DL box a permanent address on your home network.
3. Port forwarding from the router to the Bizon G2000 devbox (instructions for your router).
Once everything is set up and running smoothly you can put it to the test.
I compared my BIZON G2000 to the AWS P2.xlarge instance that I had previously used. The tests were related to computer vision and convolutional networks with a fully connected model were also used.
The training models on AWS P2 instance GPU (K80), AWS P2 virtual CPU, the RTX 2080 Ti were timed.
MNIST Multilayer Perception
The MNIST database consists of 70,000 handwritten digits. I ran the Keras example on MNIST using Multilayer Perceptron (MLP). The MLP meant I only used fully connected layers and not convolutions. The model on this dataset was trained for 20 epochs and achieved over 98% accuracy using the box, as seen in the graph below.
The RTX 2080 Ti was 3.5x times faster than the K80 on AWS P2 when training the model, which is surprising as the 2 cards should provide a similar performance. However, I think this is due to the virtualization or underclocking of the K80 on AWS.
The CPUs performed 9x times slower than the GPUs, with a great result from the processors. This is due to the small model, which failed to fully utilize the parallel processing power of the GPUs. Additionally,
the Intel Core i9 9820X achieved 5.6x speedup over the virtual CPU on Amazon.
VGG Finetuning
A VGG net was finetuned for the Kaggle Dogs vs Cats competition, which required the separate identification of dogs and cats. Running the model on CPUs for the same number of batches wasn’t feasible so I finetuned it for 390 batches (1 epoch) on the GPUs and 10 batches on the CPUs using the code on Github.
The RTX 2080 Ti was 6.8x times faster that the AWS GPU (K80) and the difference in CPU performance was almost the same as in the previous experiment (i9 is 5x faster). However, it’s absolutely impractical to use CPUs for this task as the CPUs take ~200x more time on a large model with 16 convolutional layers and a couple of semi-wide (4096) fully connected layers added on top.
Wasserstein GAN
A generative adversarial network (GAN) allows you to train a model to generate images. GAN achieves this by pitting two networks against each other: A generator learns how to create better images and a discriminator tries to identify which images are real and which are created by the generator.
I use PyTorch implementation, which is similar to the Wasserstein Gan (an improved version of the original GAN). The models used were trained for 50 steps and the loss appeared all over which is usual for GANs.
I found that the RTX 2080 Ti was 7.1x faster than the AWS P2 K80, in line with the previous results.
Style Transfer
The final benchmark relates to the original style transfer by Gatys et al and was implemented on Tensorflow.
Style transfer combines the style of one image and the content of another image.
The RTX 1080 Ti outperformed the AWS K80 by a factor of 5.6x. However, the CPUs were 30-50 times slower than the graphics cards this time. The slowdown was less than in the VGG fine-tuning task but more than the MNIST Perceptron experiment. The model mostly uses the earlier layers of the VGG network and I suspect this was too shallow to fully utilize the GPUs.
These findings suggest that it is way better to buy your own deep learning box if you want to save time, money, and to improve performance in particular areas.
My BIZON G2000 deep learning pc is currently in situated in my lounge and is using a large model to train. Not only does the quiet hum of models working more accurately make me smile, the LEDs that glow in the dark are also pretty to watch and add an extra element to the room.